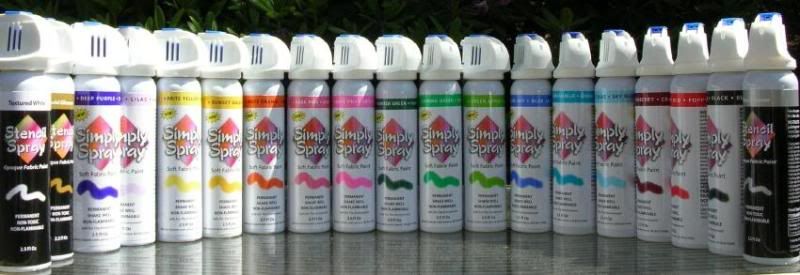
I ruined a dress on Saturday. This is not the fault of Simply Spray, the spray-on color that I used to ruin the dress ($4.99/can). Nope, I was pretty pleased with the initial results. The paint is pretty and easy to use. In fact, I plan to construct another dress and have another go at it.
What I did right:
I practiced a few times with the paint and I’d recommend that to anyone who wants to try a color fade on a dress (ombre effect). I did my test on an old white T-shirt and a scrap of fabric leftover from cutting.
What I did wrong:
I took the advice of someone who’d used an airbrush on some skirts for our club’s spring show. She took the finished skirts to her husband’s body shop and just airbrushed them there. It was simple, she told me, and the skirts looked great.
My experience wasn’t so simple. Before I sprayed the finished dress, I cut out tagboard to fit underneath the layers so the paint wouldn’t seep onto the leotard or make spots on the back of the dress. This worked pretty well on the front, but the back of the dress had a zipper, so the paint seeped through to the front of the dress and made stains that I couldn’t spray out.
After half an hour, I had to remove the tagboard because the paint was starting to stick to it. Once I removed the tagboard, the paint began to dry darker in some spots than in others, which created an embarrassing Shroud of Turin effect along the panty line.
Lessons:
- Spray the fabric before constructing the dress.
- Spray the fabric on a very smooth surface. My first test was on a box that I’d opened up. The slight dips in the corrugated cardboard made the fabric dry in stripes, which is cool, but not what I was going for.
- Start spraying off the fabric and then spray on the fabric in a continuous spray. Don’t shut off the spray on the fabric, either. You’ll get spots.
- Watch it at the end of the can. Don’t try to spray the last bits of paint out of the can or you’ll have spots.
- Try to do this outside, weather permitting, but be careful of the wind. (It’s going to be snowing/raining this coming weekend, so I plan to spray in my garage. Don't tell Ice Dad.)
- Buy more cans than you think you need, but check the store’s return policy. I used two cans to destroy that dress and one to practice on the shirt and fabric scrap.
I was pretty ticked off Saturday night when I realized I’d ruined that dress. After all, I’d struggled with that darn Specialty Sportswear pattern (more on that later) and I finally had the dress constructed and presentable when I ruined it with my purple stains. *sigh* I didn’t cry. Much.
Ice Girl was very sweet and told me that she had many beautiful dresses to choose from and that she wasn’t disappointed. She handed me tissues. Really, Momma, it’s O.K.
Ice Girl wore the dress I’d made last month to yesterday’s Cranberry Classic competition in Rockford. She skated well and is a pretty sweet kid, too.
Anyway, I have $80 worth of violet crystals, four cans of purple paint, and a JoAnn Fabrics coupon. I get paid on Wednesday. Ice Dad flies to Florida on Thursday and I have a half-day on Friday. Ice Girl has a sleepover and I have the house to myself. That dress is mine.


9 comments:
Way to be a sport and be willing to give it another go! Most people would just give up and start flipping through pre made catalogs!
Thanks for all the tips as I am a beginner in the costume making and design for my daughter as well. It is a lot of work but just by looking at our beautiful daughters with the dress on I would do it again. Also want to let you know I love reading your blog.Keep it up.
Next time we meet up, I'll have to tell you about my painting practice sessions - let's just say that, for birthdays this past year, my (female) friends and family members were the recipients of Lands End's mesh bra-and-panty sets, ordered in white and painted by me in graduated shades they liked. It was great practice for me to work on fabric similar to many skating dresses and they were able to get something rather original. And yes, I learned that it's always much nicer looking to paint prior to sewing the pieces of a garment together (the seam lines can make it look "painted" rather than "flowy".
By the way, I'll have to tell you about the bead/applique work I did last week with aarum preciosas - it was worn at the Cranberry Open. I'm pretty critical of my own work, and yet I couldn't stop looking at it - it was so darn stunning! I cannot wait to see the photos her mother promised me!
Thanks for the comment, Renee! I'm hoping to see you this Sat. in Milw. when I pick up Ice Girl's new skates.
You'll have to tell me which dress at the Cranberry Classic you beaded. We were there and looking avidly at dresses and sparkles.
Joann Fabrics is my favorite store for cool stuff...
The next time you paint a garment, cover the cardboard form with plastic wrap or a trash bag. I tape an old hanger to the board (before covering with plastic) so that I can hang the garment up to dry if needed. That will keep the paint from seeping thru to the other side.
You might also want create a customized dress form using tape. There are several sites that have instructions. I love to sew with the dress form because I can play with the patterns and designs to get the prefect look.
Jan
I'm really hoping you'll review that Specialty Sportswear pattern soon! I've had success with Kwiksew and Jalie, but that Specialty Sportswear system freaks me out. I can't figure out what to buy, let alone how to sew it!
Another way to get a beautiful ombre is to dip dye. I've done both painting and dip and had good results with clothing. I lvoe your blog btw!
Hi, poor clare. Specialty Sportswear freaks me out, too. I swear, I need a sherpa to guide me through those patterns. The instructions are from Dr. Frankenstein - cobbled together from the remains of other instructions.
However, those styles suck me in. If you're a first time sewer, stay away! If you have a good guide (or sherpa) and some sewing experience behind you, attempt it.
Post a Comment